2D Contour Vs. Dynamic Contour
What are the differences between Dynamic Contour and 2D Contour in Mastercam? We explain which contour toolpath will work best for roughing
and finishing walls.
By John Stauffer and Callie Morgan
Thursday, February 24th, 2022, 5:30 PM PST
2D Contour and Dynamic Contour are the most basic toolpaths for side cutting with an endmill to finish vertical walls. There are other uses for these contour toolpaths, but this is by far the most common usage. 2D Contour and Dynamic Contour can be used for both roughing and finishing, and can be used on vertical walls or tapered walls that are straight, in an arc, or wavy. But what are the differences between these toolpaths, and which one should you be using?
2D Contour

2D Contour is the very first toolpath in the 2D gallery. It is typically the first toolpath that new users tend to learn because it is so simple. 2D Contour has been a staple for 2D programming for a long time, and it will continue to be a heavily-used toolpath for all types of milling machines. This toolpath can be used with many default settings and create effective cuts for finishing walls of parts, but it also has many options that allow you to create tapered cuts, automatically fillet outside corners, and create depth cuts.

2D Contour can also be used to create a multi-pass cut, where the tool is offset from the final contour by a specified distance. These multi-cuts can be stacked as well, which allows you to program the tool to make multiple cuts at specified radial steps. However, the important thing to note here is that, while it allows for the multiple radial steps, the steps themselves do not consider the stock being cut. The offset is based on the final contour, then offset to create additional cuts. Due to the lack of stock awareness in these steps, your program may have points in the cut that are lighter or heavier than other portions.
Alternatively, the lack of stock awareness in 2D Contour can result in a cut path where much of the path itself is not contacting any stock because there is not enough material being left for the contour. This is a major waste of cycle time, and we see this method being used often by programmers who have not taken the time to learn how to use Dynamic Contour effectively.
Dynamic Contour

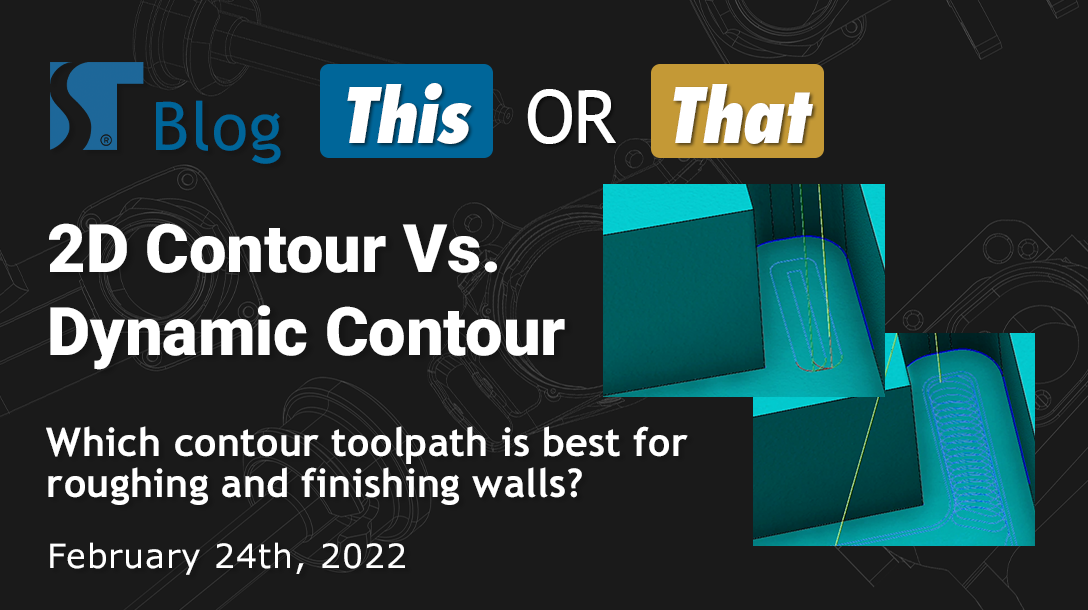
Mastercam’s Dynamic Motion® toolpathing technology creates the most efficient cutting motion possible by taking into account, not only where excess material needs to be removed, but also the state of the material over the time it is being machined. This results in the toolpath automatically adjusting to add cutting motion where stock is heavier, while keeping the motion simple where there is not an excess of stock. Dynamic Motion produces a consistent chip load with less heat, reduced cycle time between 25% and 75%, and a cleaner finish. This produces a toolpath motion that looks a bit different than the basic version of the toolpath.
Aside from the dynamic motion in the first part of the toolpath, Dynamic Contour is essentially the same finishing toolpath as a standard 2D Contour. Dynamic Contour has all the same options for finishing, such as the tapered walls setting, depth cuts, and multi-pass.

The key difference of Dynamic Contour from 2D Contour in its settings is the menu option “Contour Wall”, where you can add a few details about the previous roughing operation, so the Dynamic Contour toolpath can adjust its motion accordingly. While this additional page does increase programming time a bit, it can save a significant amount of cycle time in the correct situation.
Essentially, 2D Dynamic Contour blends together the 2D Dynamic Mill and 2D Contour toolpaths into a single toolpath. By first focusing on remaining stock, then following up with standard contour paths, you can prevent excessive load on the tool during the finish cut. This improves tool life as well as the final quality of the finish cut.
How To Choose the Right Toolpath
John also demonstrates a good example of when to use 2D Contour or Dynamic Contour in this short video.
If the amount of stock you need to remove varies during the contour path, it is a better idea to use a Dynamic Contour. This toolpath can adjust for varying stock, including portions of a profile that have excessive stock due to the roughing tool being too big to clear all the rough stock. However, if you are using the same size tool, or larger, Dynamic Contour will not be able to cut any farther into an inaccessible area of the profile.
If the amount of stock you need to remove does not vary during the finish cut, it’s typically better to stick with a standard Contour toolpath. The standard 2D Contour is a bit easier to set up, and requires less data from previous toolpaths to work correctly compared to Dynamic Contour.
For access to more in-depth Mastercam training content, sign up for a Streamingteacher account here!